My First ML Project 👨🏻💻🤖
Published:
It is about everything interesting and challenging during the process of building my LeNet-5 From Scratch project. Please lower your expectation before clicking in. 😬🫣
How I got started in machine learning
My interest in ML emerged during my computer science foundation year. At the time, one of my assignments for the English for Academic Purpose module was to write an essay about an ethical issue in the field of computer science that everyone should know.
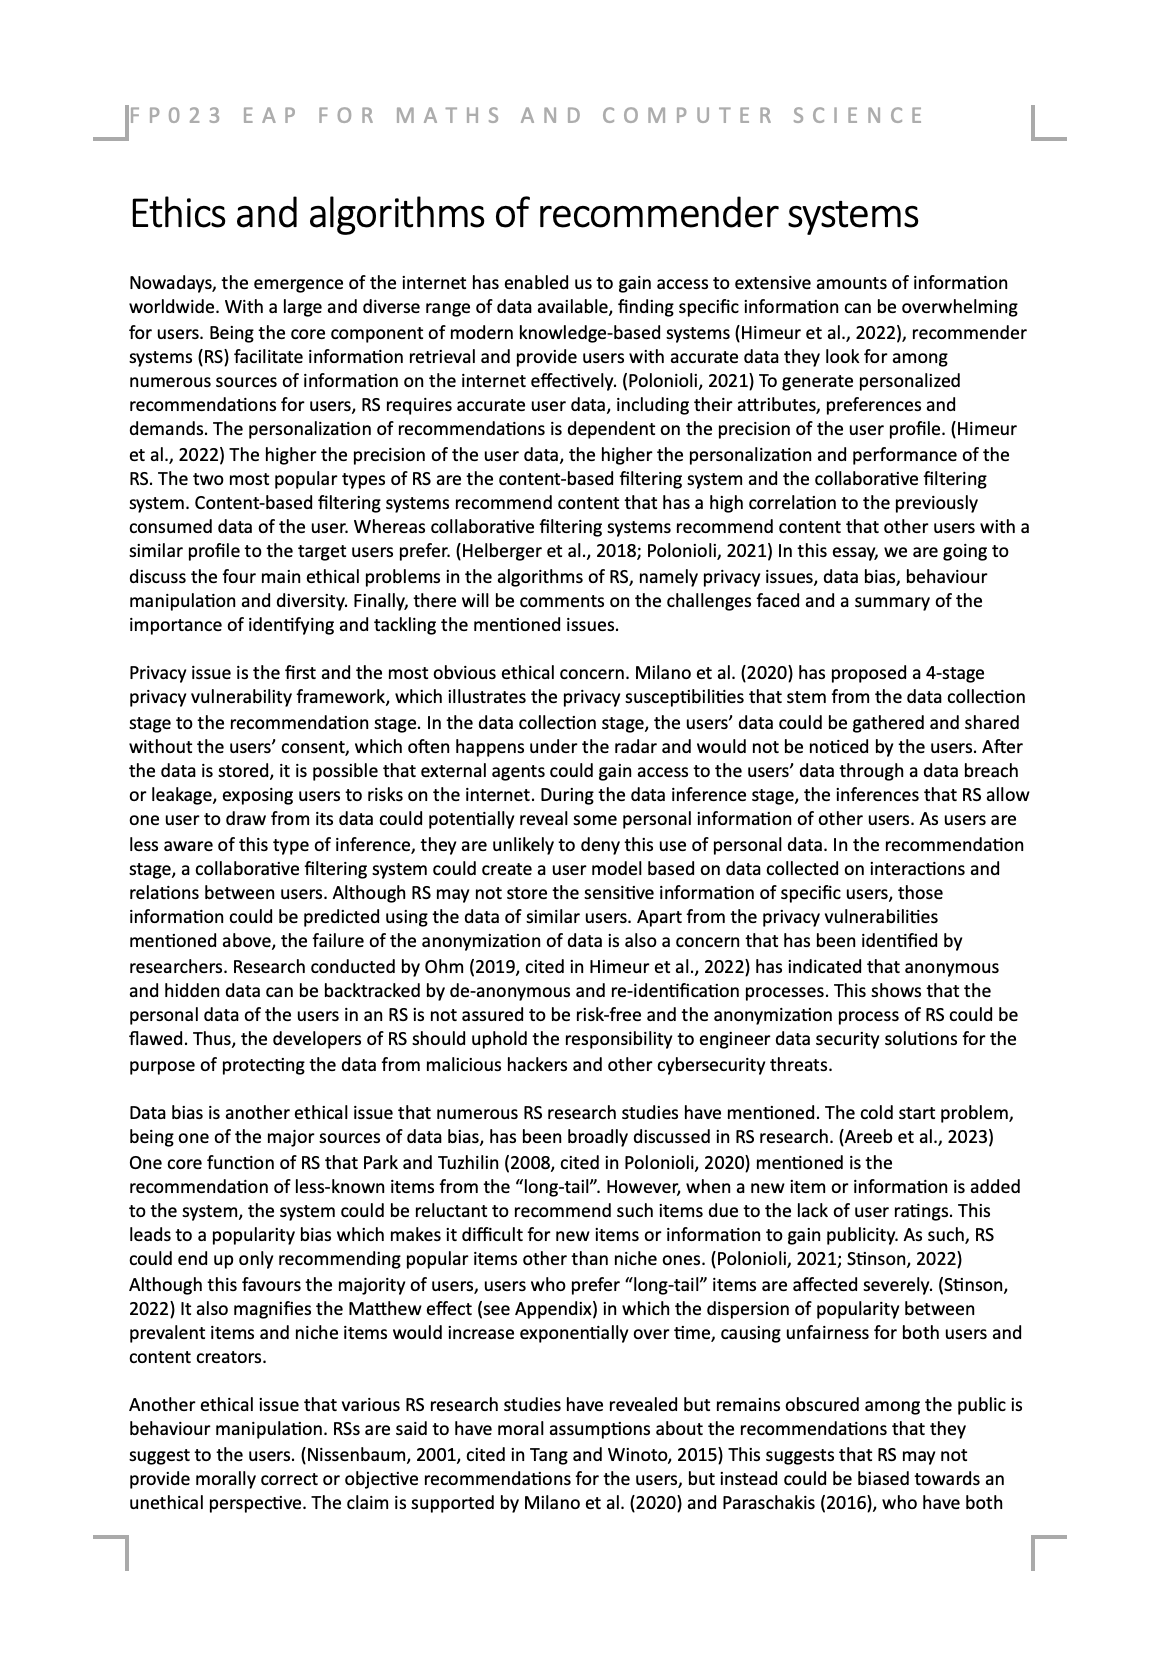
The topic I wrote about was related to the ethics of recommender systems, which powers the search engines of websites like Youtube and Netflix. Despite the fact that I did not have any technical understanding of how recommender systems work, I was deeply intrigued by the ethical issues I had researched into, e.g. cold-start problem, the diversity problem and etc. I was curious and keen to know the working principles and the ML algorithms behind this ‘black-box’ seeing how powerful and influential recommender systems were to every internet users.
Fastforward to 14/6/2024, I was relieved as I finished all my IFP examination. I planned to spend my summer on an ML online course on Coursera. During the process, I learned a lot about the foundation of machine learning, from linear algebra to the linear regression model and the gradient descent optimizer for neural networks, as well as machine learning tools like scikit-learn and PyTorch.
As I have finished the course in late July, I decided to put together my knowledge and challenge myself with a project. The challenge I gave myself was to implement the LeNet-5 model from scratch.
What is LeNet-5
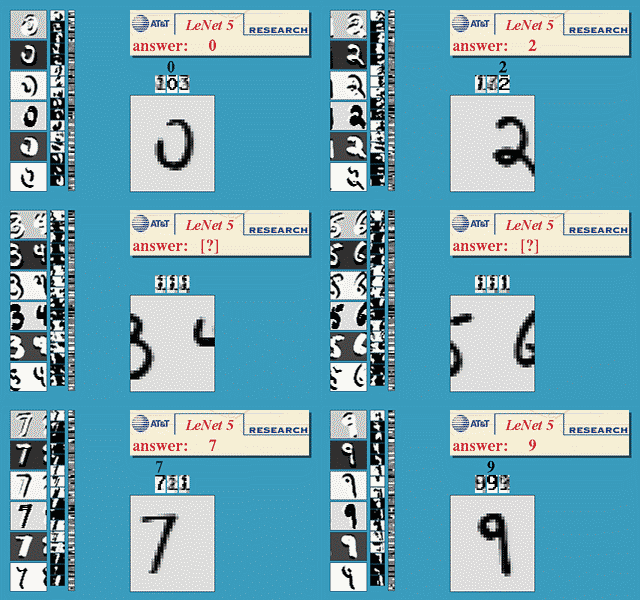
LeNet-5 is a pioneering Convolutional Neural Network (CNN) architecture in the field of deep learning, particularly known for the handwritten digit classification on the MNIST dataset. It was developed in the late 8-90s by Yann LeCun and proposed in his paper Gradient-based learning applied to document recognition.
Here is a video showcasing his work in handwritten digit recognition.
The early prototypes of the LeNet-5 model had been used for identifying handwritten zip code numbers provided by the US Postal Service and recognizing digits writtens on cheques.
If you would like to know more about LeNet, I have linked another blog post here from educative.io.
So what is my project about
I built a simple handwritten digit recognition app with my implementation of LeNet-5 as the model.
What is so special about this project is that I did not use any deep learning libraries or auto-differentiation tools like PyTorch or Tensorflow, instead I created all neural network modules from simple mathematical functions provided by numpy, e.g. matrix multiplication & exponential functions.
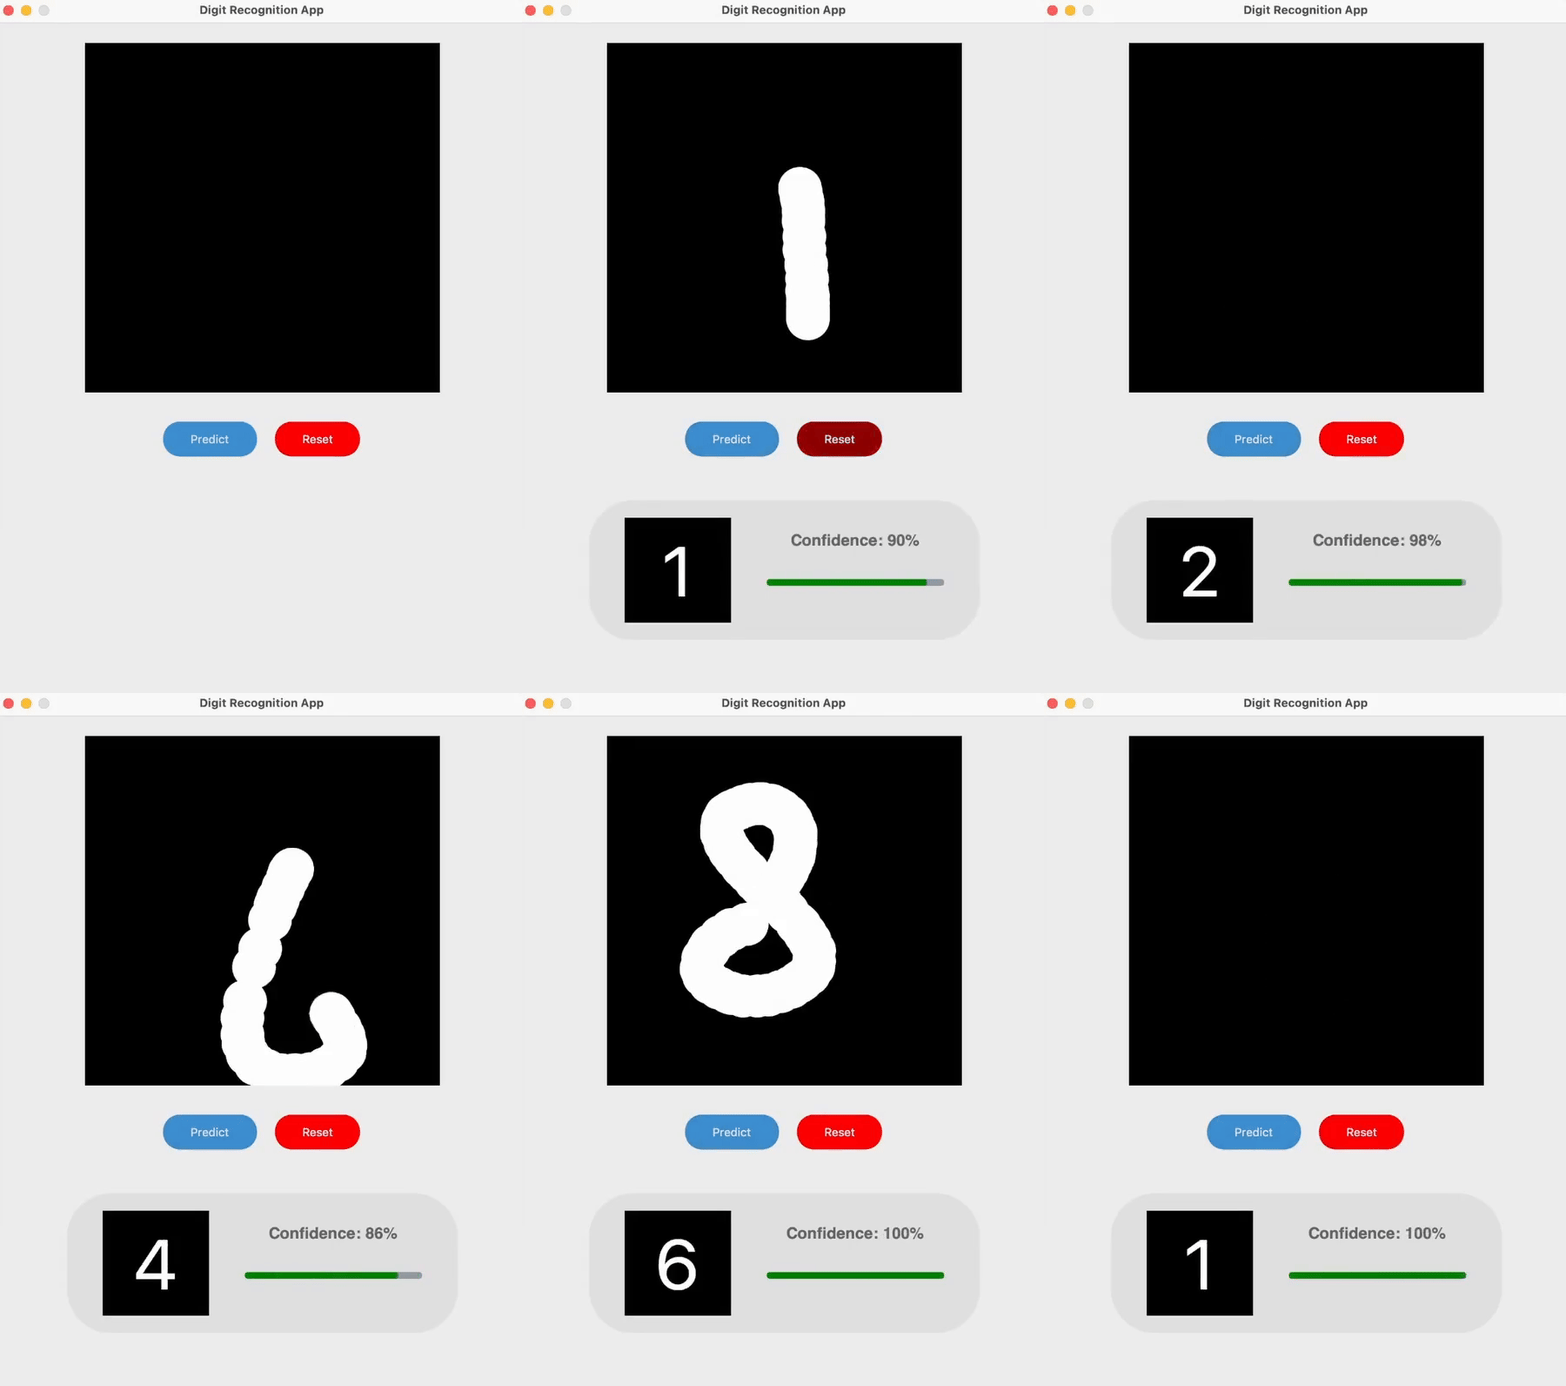
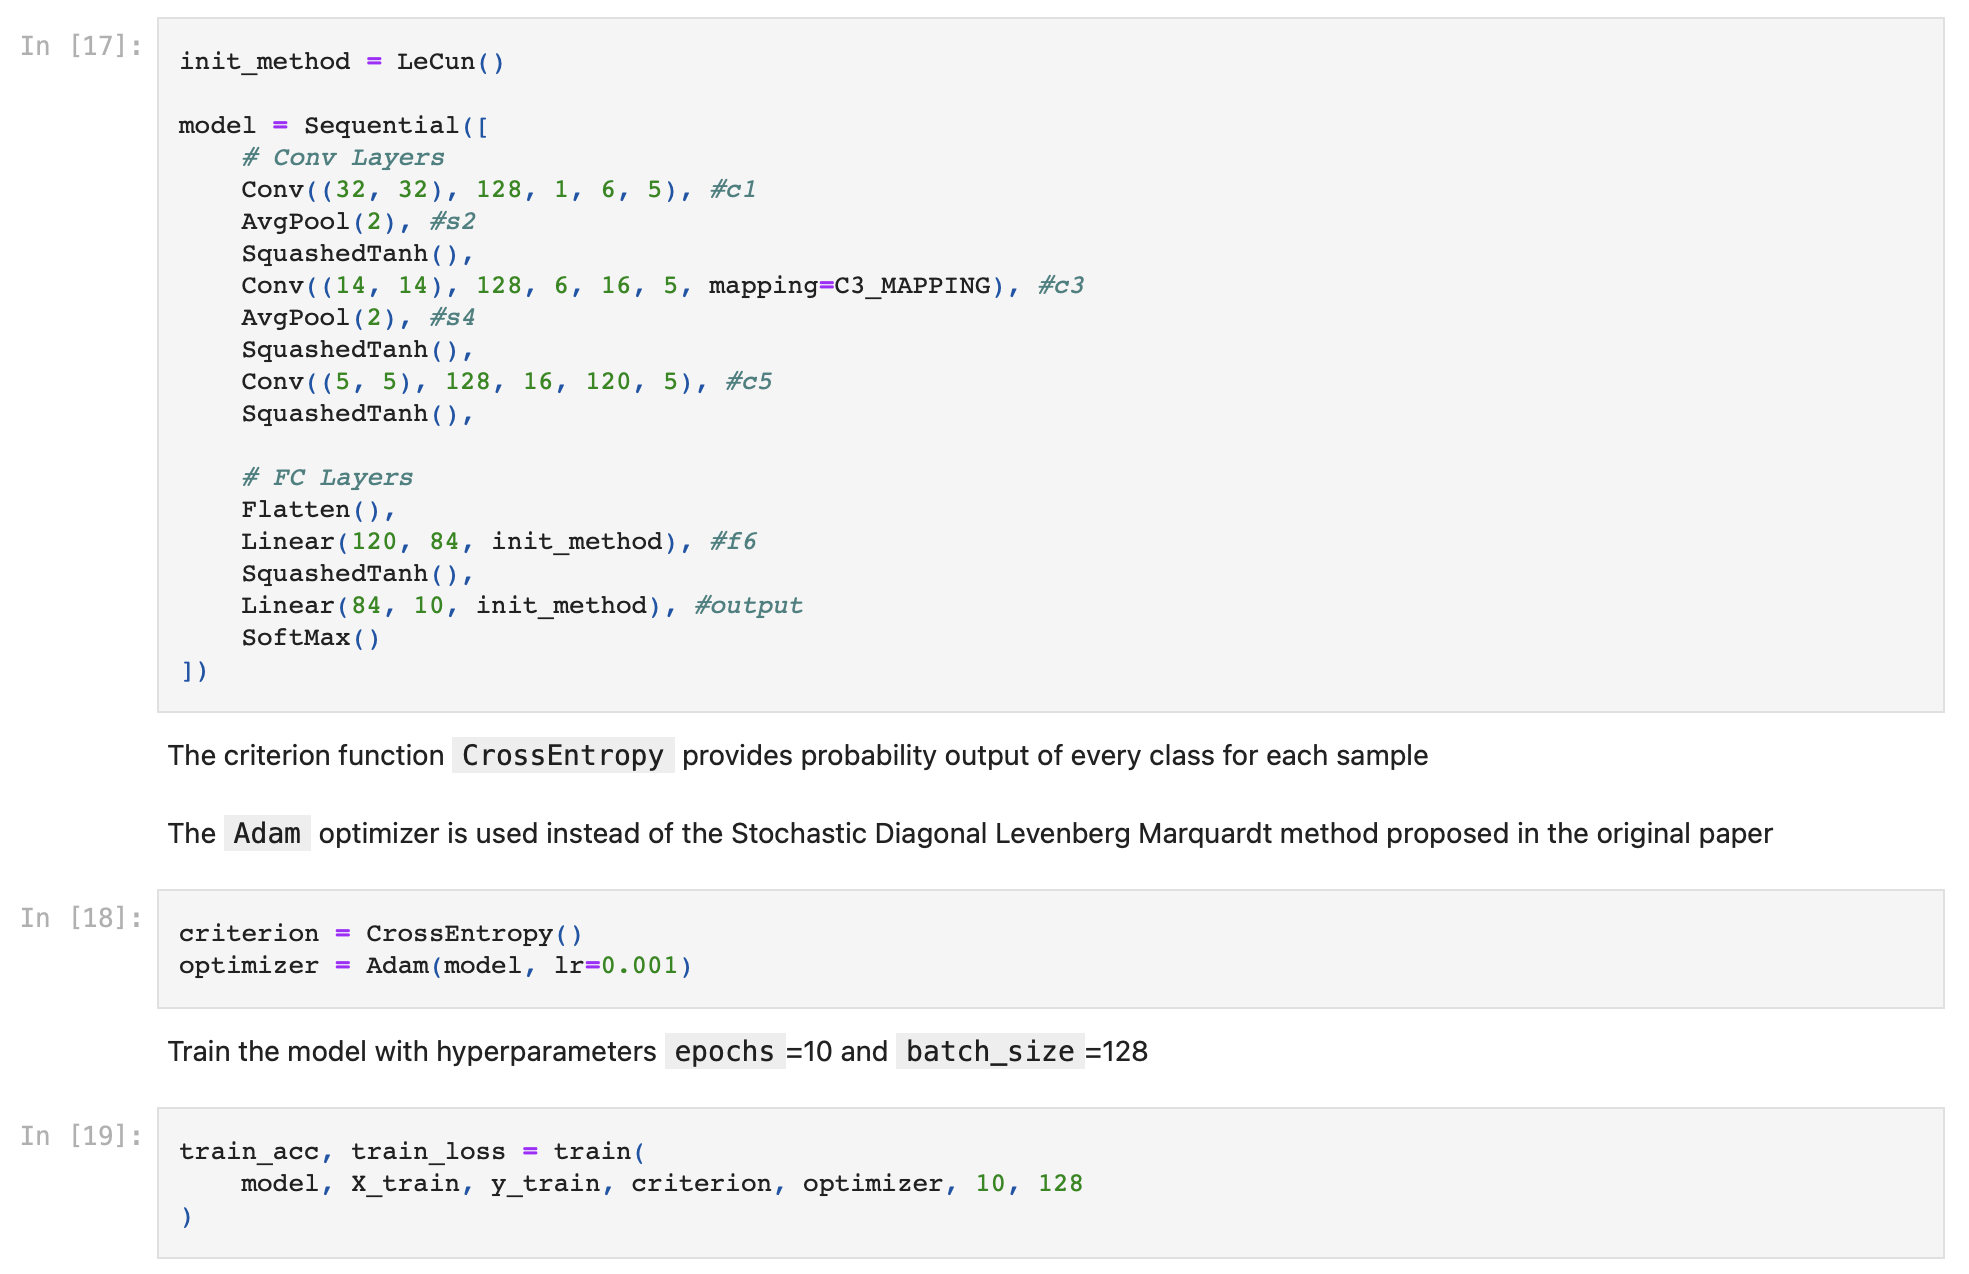
I have followed the architecture outlined in the original paper with several slight modifications. One of which was that I switched the original RBF output layer in the model to a Softmax layer in combination with the Cross Entropy Loss function which enabled me to display the output confidence / probability for each prediction.
Here is the original architecture of the LeNet-5

Here is a high-level overview of my implementation
How I coded it up
In summary, the model consists of 4 major components …
Layers
"""
Includes ...
1. conventional
2. activation
3. normalization
4. regularization
5. pooling
layers
"""
class Layer:
    def forward(self, X: NDArray, **kwargs) -> NDArray:
        pass

    def backward(self, grad: NDArray) -> NDArray:
        pass

    def __call__(self, *args, **kwargs):
        return self.forward(*args, **kwargs)
The Layer class is the base class of all other building blocks of the model.
In forward propagation, the forward method takes an input X and return a numpy array as output after the layer operations.
In backpropagation, each layer returns an output gradient, which usually consists of a calculation result of the derivative of the forward operations and the input gradients, to its previous layer in the model.
Sequential Class
class Sequential:
    def __init__(self, blocks: List[Layer]) -> None:
        self.blocks = blocks
        self.is_training = True

    def forward(self, X: NDArray) -> NDArray:
        for block in self.blocks:
            X = block(X, train=self.is_training)
        return X

    def backward(self, grad: NDArray) -> None:
        for block in reversed(self.blocks):
            grad = block.backward(grad)

    def train(self) -> None:
        self.is_training = True

    def eval(self) -> None:
        self.is_training = False

    def __call__(self, *args, **kwargs):
        return self.forward(*args, **kwargs)
You can think of it as a container of the layers. It allows the model to be executed sequentially at once instead of having to execute every layers manually in both forward and backward propagation. It also acts as a switch to control the behaviour of the layers depending on whether it is in training or testing stage.
Optimizer
class Optimizer:
    def __init__(self, model: Sequential, lr: float) -> None:
        self.model = model
        self.lr = lr

    def step(self):
        pass
This is where the ‘learning’ of the model happens. The step function updates the learnable parameters of each layer by changing it’s original value to a calculation result of it’s value and the ‘delta value’ calculated during backpropagation.
e.g.
with $W$ and $b$ being the weight and bias of a linear layer, and $L$ being the loss evaluated by the derivative of the loss function in gradient descent.
Criterion
class Loss:
    def forward(self, y: NDArray, y_pred: NDArray) -> float:
        pass

    def backward(self) -> NDArray:
        pass

    def __call__(self, *args, **kwargs):
        return self.forward(*args, **kwargs)
The structure of the Loss is very similar to the Layer class. The only difference is that the criterion (loss) function takes y (the true label of the sample) and y_pred (the prediction made by the model) as input and returns a value representing the difference between the two. The backward function returns the derivative of the forward function and passes the output down layer by layer for backward propagation.
There are also additional components outside the these major ones that I just mentioned. If you would like to know more in-depth how I created the modules, train and test the model, and integrating the model into the app, click the button below to view the source code.
Challenges
Bad at maths 🙈
I must admit I am not a maths genius. 😔 As I did not have much experience reading maths formulas before starting the projects, I found it very difficult to understand the operations and meaning behind a formula that I have never seen.
I also found it challenging to come up the backward function for the layers as I had no idea of how to find the derivative of the forward operations.
My solutions
What I decided to do was to find blog posts and articles on medium or stackoverflow that explained the maths and the intuition behind it instead of only relying on the paper. There are many posts related to machine learning and data science on those platforms so the topics you are looking for are likely going to be covered.
As I did not have a mentor during the project, I had nobody to ask whenever I could not find a solution directly from internet searches. I had tried using AI tools like ChatGPT for help and it generally worked quite well. Just makes sure to test the code written by ChatGPT and see whether it gives the same results as expected. 🤫 Sometimes its output may contains obviously incorrections but you can always build on the output, fix the error and re-test the code.
Dealing with dimensions
When you are building a neural network from scratch, you would need to pay more attention to the shapes of the input, output and the intermediate operations. During my coding process, I encounted many errors in unmatched dimensions especially in implementating the convolutional layer and the backpropagation for the model.
My solution
The way I tried to reduce the difficulty in debugging is simply split the programs into modules and do unit tests. For example, rather than incorporating the optimizer into the sequential class, I split it into individual classes which enables me to test them separately. It ensures the code in each module is as minimal as possible. At the end of the testing stage, I would just piece the modules back to how it is supposed to work and test the entire integrated model.
Complex instructions 😢
A problem beginners, including myself 🤡, are going to face is difficulty translating the paper into code. What I meant by that is some papers I have seen focused on showcasing the novel methodology the authors proposed and the results they have achieved. The architectures are also thoroughly explained but prior knowledge is expected from the readers. Without any experience reading ML papers, I found the description for the model implementation quite confusing. 😅
In this project, the one problem that got me stucked the longest is creating the RBF output layer for LeNet-5 model.
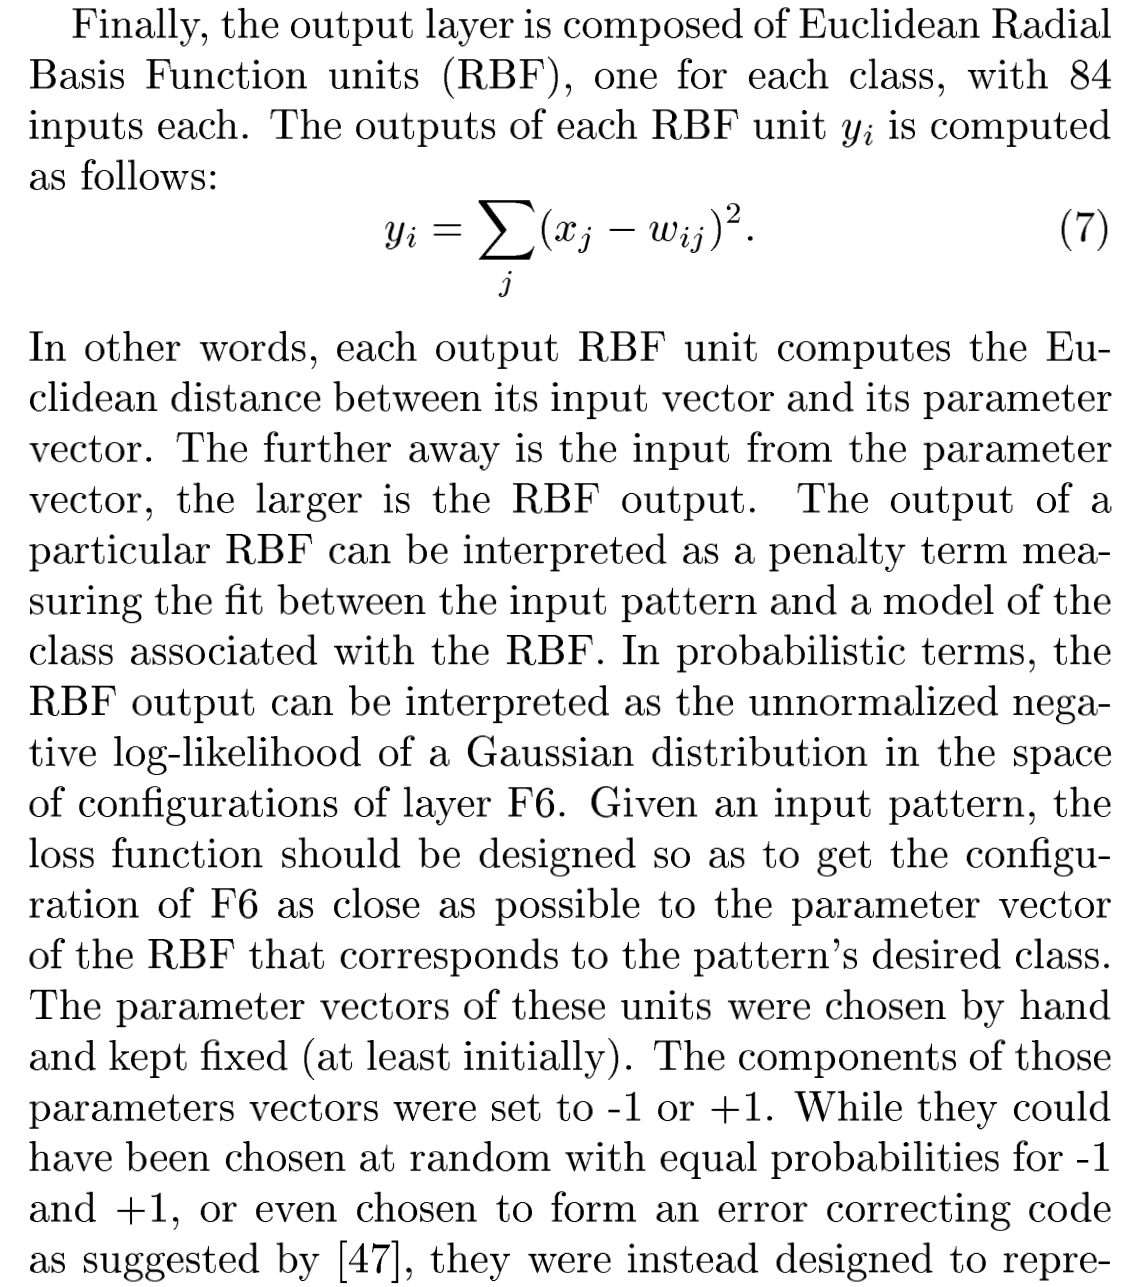
I did not understand how the dimension of the output could converge to (batch size, 10) for evaluting loss given the $w$ ascii maps array is possibly in the shape of (number of digit maps, height, width) and the input size is in (batch size, 84). I also had no idea how I was supposed to train the model with only the input from previous layer passed in as there would be no ways to find the class that the truth label belongs to and find the corresponding digit map to compare against.
My solution
As you would have guessed it, I gave up trying on my own. 😂 I searched for some tutorials on Youtube but nothing related showed up. Very fortunitely, I found an implementation of LeNet-5 on github by mattwang44 (he graduated from National Taiwan University, so I assumed he must be smart 😛🤓). I read his code and finally understand how it works.
I realized I would need to split the layer into train and test mode. In train mode, the train image x and truth label y will be the input of the model which enables the RBF layer to have the class that the truth label belongs to and find the corresponding digit map to compare against and returns a vector of (batch size, 1) representing the difference for the loss function to optimize. In test mode, only the train image x will be required for the input, and the output will be a list of differences between the input and all digit maps. The digit map with the lowest difference will be chosen as the output class using argmax.
To address the dimension problems, I should first flatten the corresponding digit map from a dimension of (height, width) to an 1d array (height * width,) before calculating the dot product with the 2d input vector.
Although the solution may seems trivial to you but I definitely struggled a lot in wrapping my head around how it works. 😿
3 Key Takeaways
- Find and read others’ implementations on the same project, there are always much to learn from.
- Find a mentor, it will make your life so much easier.
- Don’t worry if you do not understand a concept or maths, probably it is difficult and most people won’t as well so you will be fine. 😹💀
Something Extra ✨
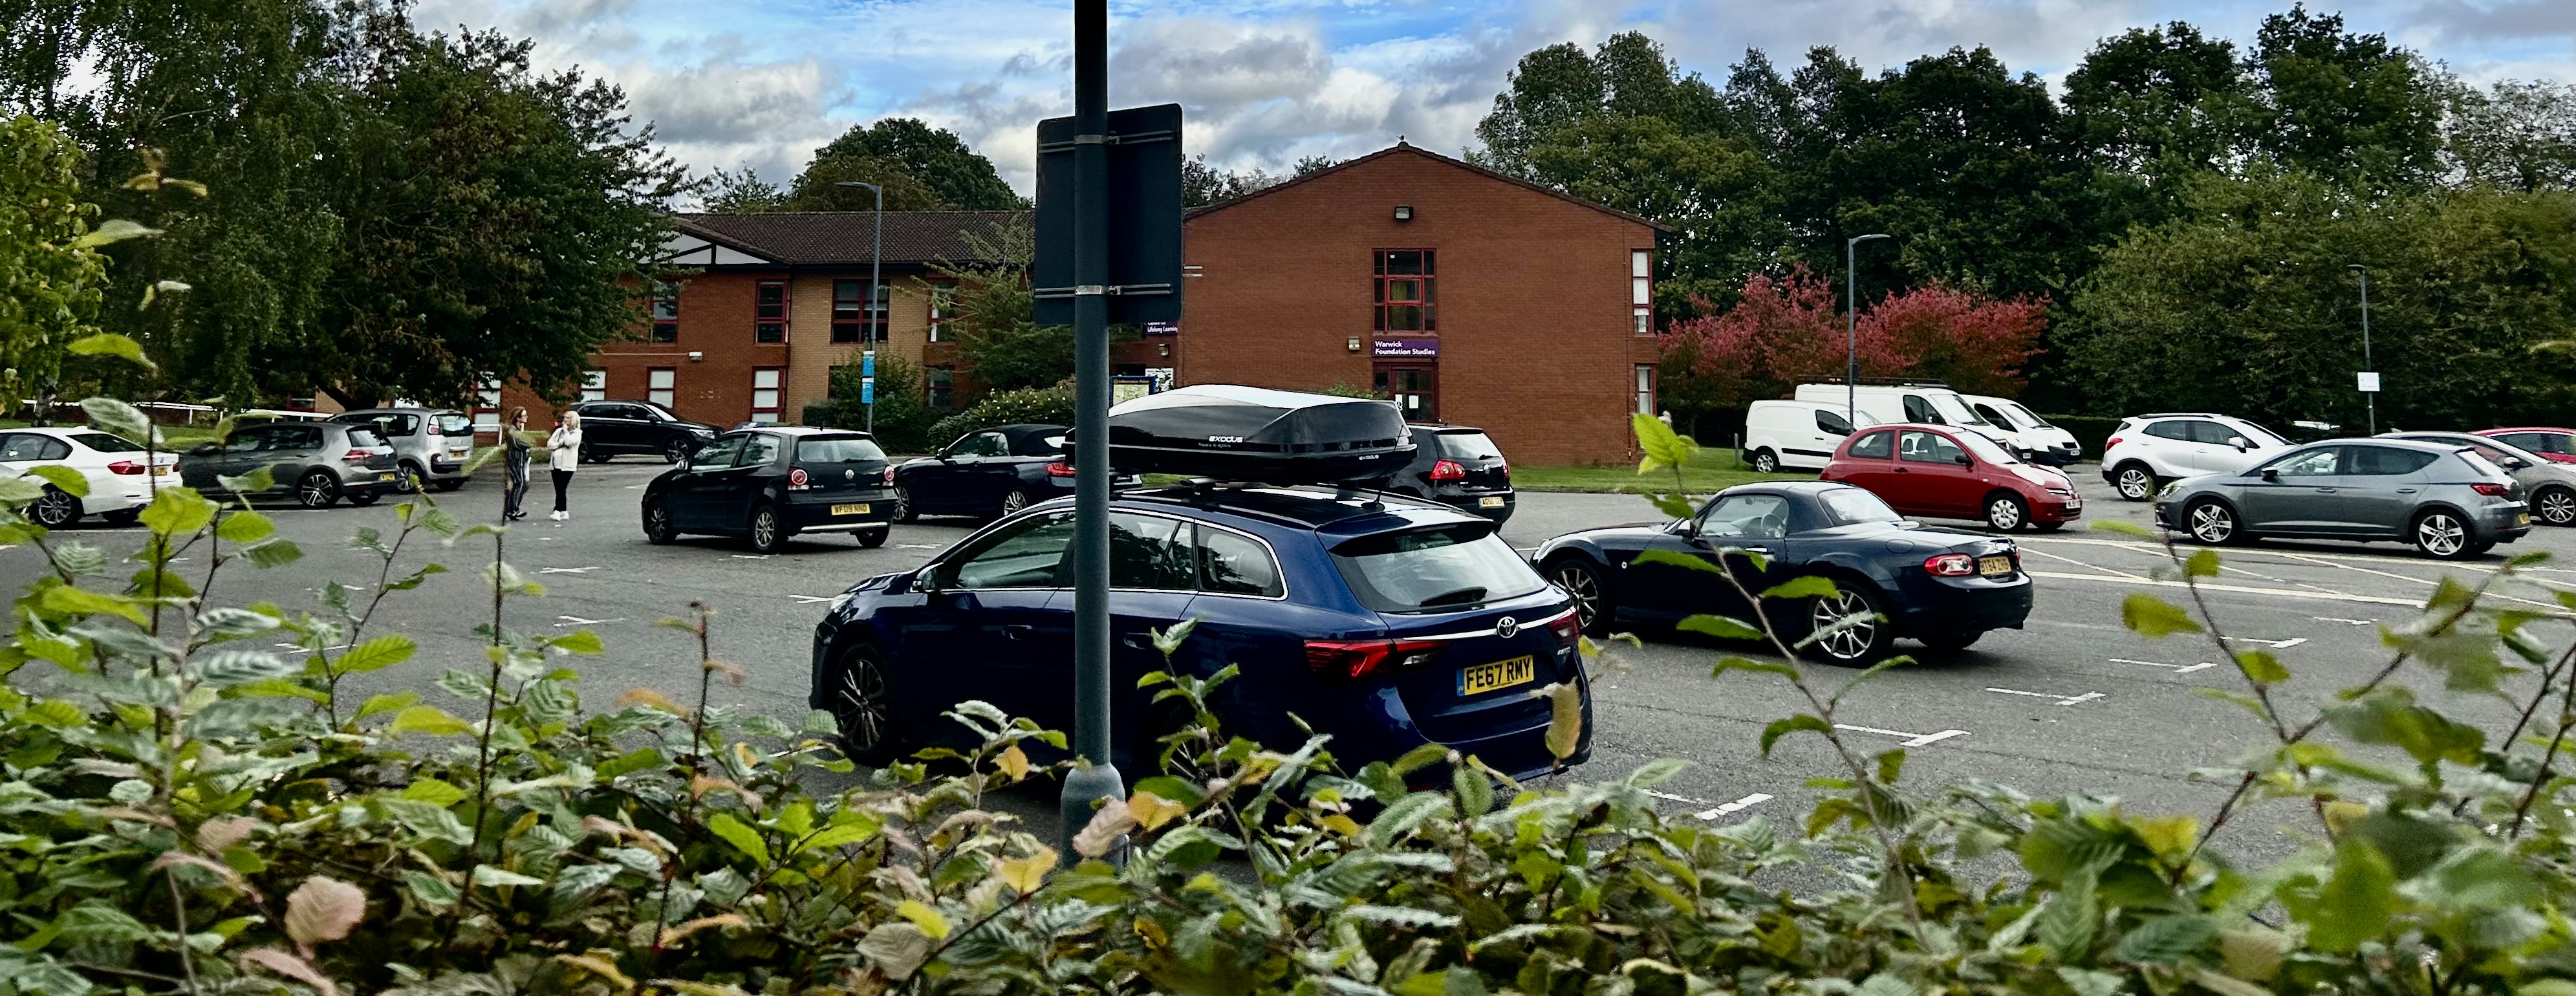
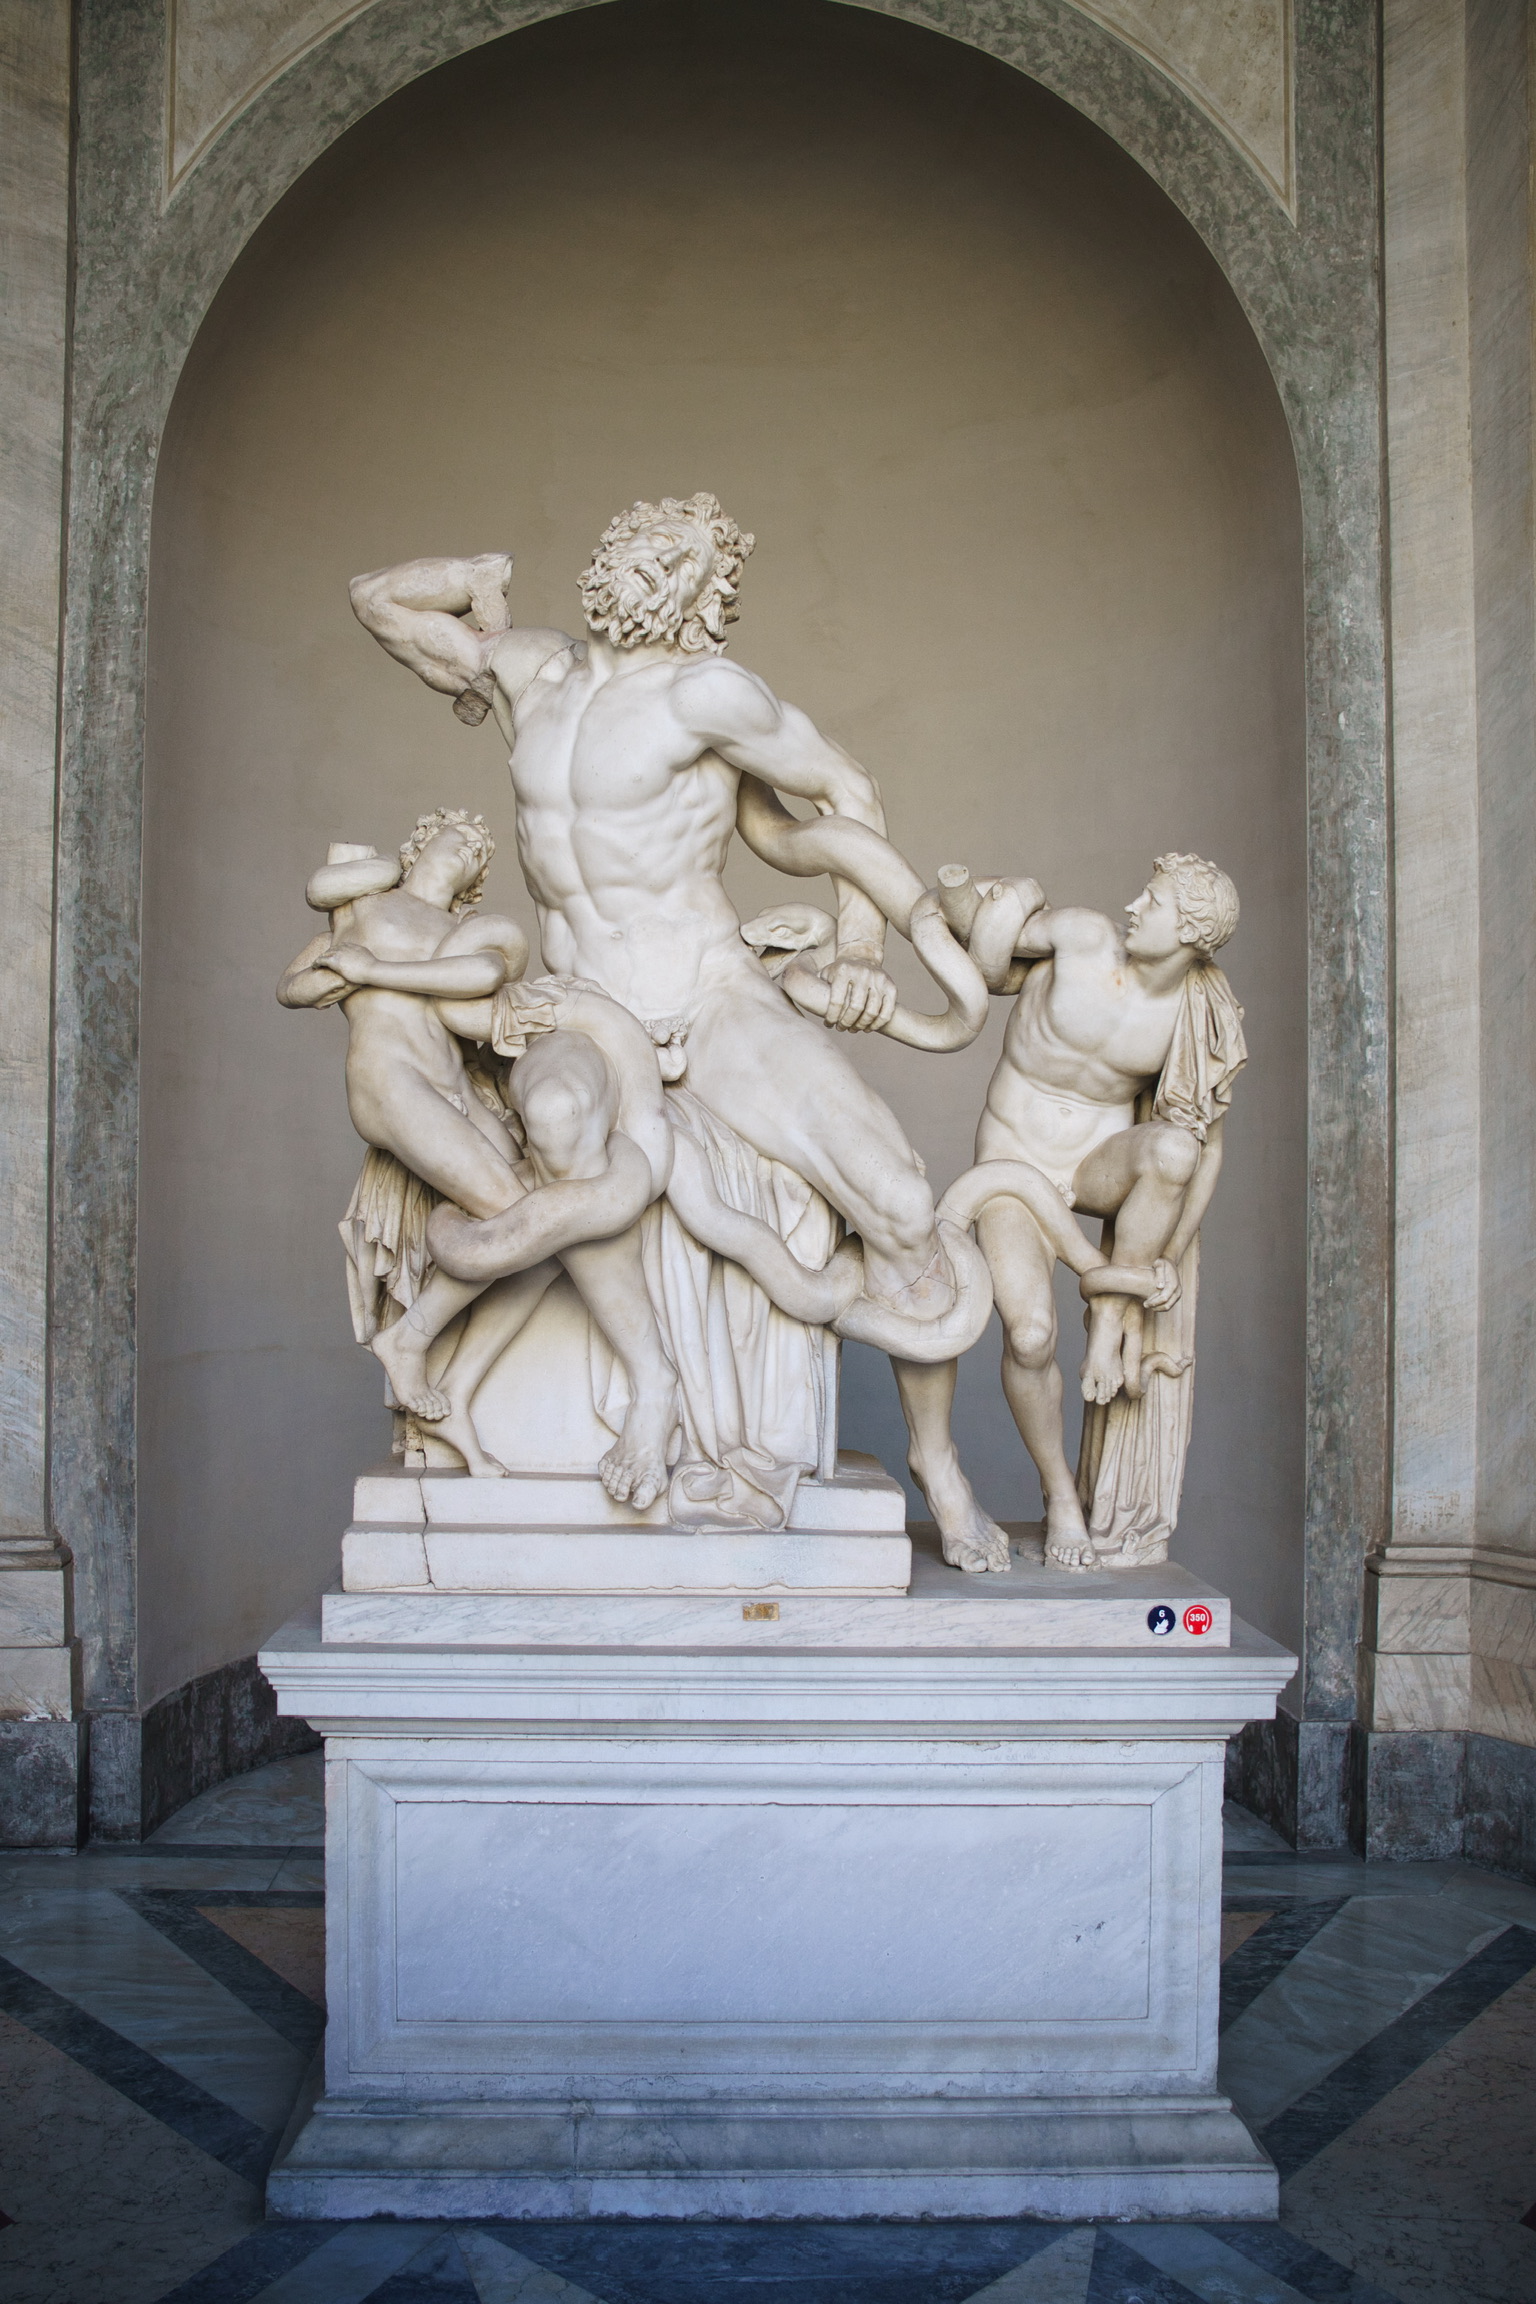
I wrapped up my project and finished creating the app for digit recognition on 6/8/2024, during my trip to Italy from 4/8 to 10/8 🏖️🇮🇹. So I might as well show some of the picture I took in Rome during the vacation. Thank you for reading to the end of this blog. ❤️






 Leetcode